


Cleaning a litter box is an essential part of cat care. Regular maintenance ensures your cat’s health, hygiene, and comfort while also keeping your home fresh and odor-free. While it might seem like a straightforward task, there’s more to it than just scooping out the waste. This comprehensive, step-by-step guide will walk you through the process of cleaning a litter box properly, providing tips and best practices for both you and your cat’s benefit.
Why Regular Litter Box Cleaning Matters
Before diving into the steps, it’s important to understand why maintaining a clean litter box is essential. Cats are very particular about their environment, and a dirty litter box can lead to stress, anxiety, and even health issues. Here are a few reasons why keeping your litter box clean is crucial:
- Prevents Health Problems: A dirty litter box can harbor bacteria and parasites, potentially leading to infections and diseases for your cat. Regular cleaning helps prevent urinary tract infections (UTIs), fungal infections, and other health issues.
- Reduces Odor: Litter boxes naturally absorb waste, but without frequent cleaning, the ammonia from urine and feces can create an unpleasant smell. A clean litter box helps maintain a fresh-smelling home.
- Encourages Use: Cats are finicky creatures and may refuse to use a dirty litter box. Keeping the box clean ensures your cat remains comfortable and continues to use it.
- Maintains a Happy Home: A clean litter box prevents the spread of odors and bacteria in your home, contributing to a healthier living space for both you and your pet.
How Often Should You Clean a Litter Box?
The frequency of cleaning depends on several factors, including the number of cats in the household and the type of litter used. However, here’s a general guideline:
- Daily: Scoop out waste once or twice a day to remove clumps of urine and feces. This prevents odors and keeps the box hygienic.
- Weekly: Empty the entire litter box, clean it with soap and water, and replace the litter. You may also need to do this more frequently if you have multiple cats.
- Monthly: Deep clean the litter box, especially if it’s showing signs of wear, such as cracks or discoloration. Some litter boxes may need to be replaced after a few months.
Materials You’ll Need
Before you start cleaning, gather the necessary materials. These are the items that will make the process more efficient and effective:
- Disposable gloves: To protect your hands from germs and bacteria.
- Litter scoop: To remove waste and clumps.
- Trash bags: For disposing of used litter and waste.
- Mild soap or disinfectant: To wash the box (ensure it’s cat-safe).
- Sponges or cloths: For cleaning the box.
- Fresh cat litter: Refill the box with your preferred type of litter.
Step-by-Step Guide to Cleaning a Litter Box
Step 1: Prepare Your Workspace
To start, prepare the area where you will clean the litter box. Lay down newspaper or old towels to catch any spills or litter. If possible, wear gloves to protect your hands from germs and bacteria.
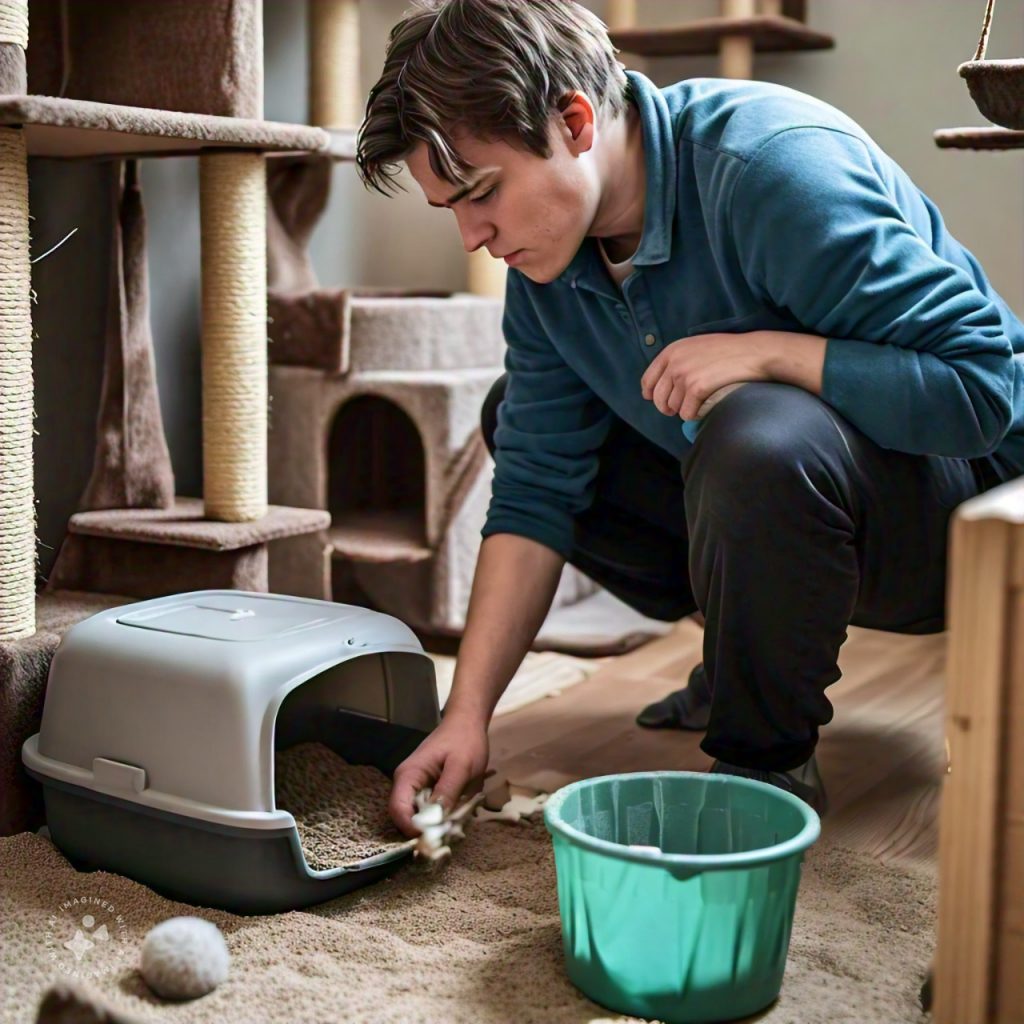
Step 2: Remove the Used Litter
Using a litter scoop, remove the clumped waste and urine-soaked litter. Focus on removing any solid waste and clumps formed by the urine. This should be done daily to prevent odors and bacterial growth.
- Scoop thoroughly: Make sure to reach the corners and edges of the box where waste may accumulate.
- Dispose properly: Place the waste in a trash bag, preferably in a sealed container to prevent odors from escaping.
Step 3: Empty the Entire Litter Box (Weekly Cleaning)
Once you’ve scooped out all the waste, it’s time for a deeper clean. Empty the entire box into a trash bag, including any remaining litter.
- Tip: If the litter box is very heavy, consider using a dustpan to transfer the used litter into the trash bag.
Step 4: Wash the Litter Box
Now that the box is empty, it’s time to clean it. Using a mild soap or cat-safe disinfectant and warm water, scrub the inside of the box thoroughly.
- Use a sponge or cloth to scrub the sides and corners.
- Rinse thoroughly: Make sure to rinse off any soap or disinfectant completely.
- Dry the box: Use a clean towel or cloth to dry the box completely. Cats can be sensitive to damp surfaces, so ensure it’s dry before refilling with fresh litter.
Step 5: Refill with Fresh Litter
After the box is clean and dry, it’s time to add fresh litter.
- Add the right amount: The general guideline is to fill the box with about 2 to 3 inches of fresh litter.
- Level it out: Make sure the litter is evenly distributed throughout the box for your cat’s comfort.
Step 6: Dispose of Waste Properly
Once the litter box is cleaned, tie up the trash bag containing the used litter and waste, and dispose of it properly in an outdoor trash bin. Never flush cat waste down the toilet as it can cause plumbing problems and is harmful to the environment.
Tips for Keeping the Litter Box Cleaner for Longer
While regular cleaning is essential, there are ways to minimize how often you need to deep clean the box:
- Use Clumping Litter: Clumping litter makes it easier to scoop out waste daily and helps control odors.
- Invest in a Self-Cleaning Litter Box: These boxes automatically sift waste, reducing the frequency of manual cleaning.
- Add Baking Soda: Sprinkling a little baking soda on top of the litter can help control odors between cleanings.
- Consider a Liner: Using a litter box liner can make cleaning easier, though some cats may not like them.
- Use Multiple Litter Boxes: If you have more than one cat, make sure to provide enough boxes. The general rule is one box per cat, plus one extra.
Conclusion
Cleaning a litter box doesn’t have to be a chore if you approach it with the right steps and frequency. By following these step-by-step instructions, you can ensure that your cat stays happy, healthy, and comfortable. Regular maintenance not only improves your cat’s quality of life but also helps maintain a fresh and hygienic environment in your home.
Remember, a clean litter box is key to keeping your cat’s environment safe, odor-free, and inviting. So, take the time to clean it properly and often!